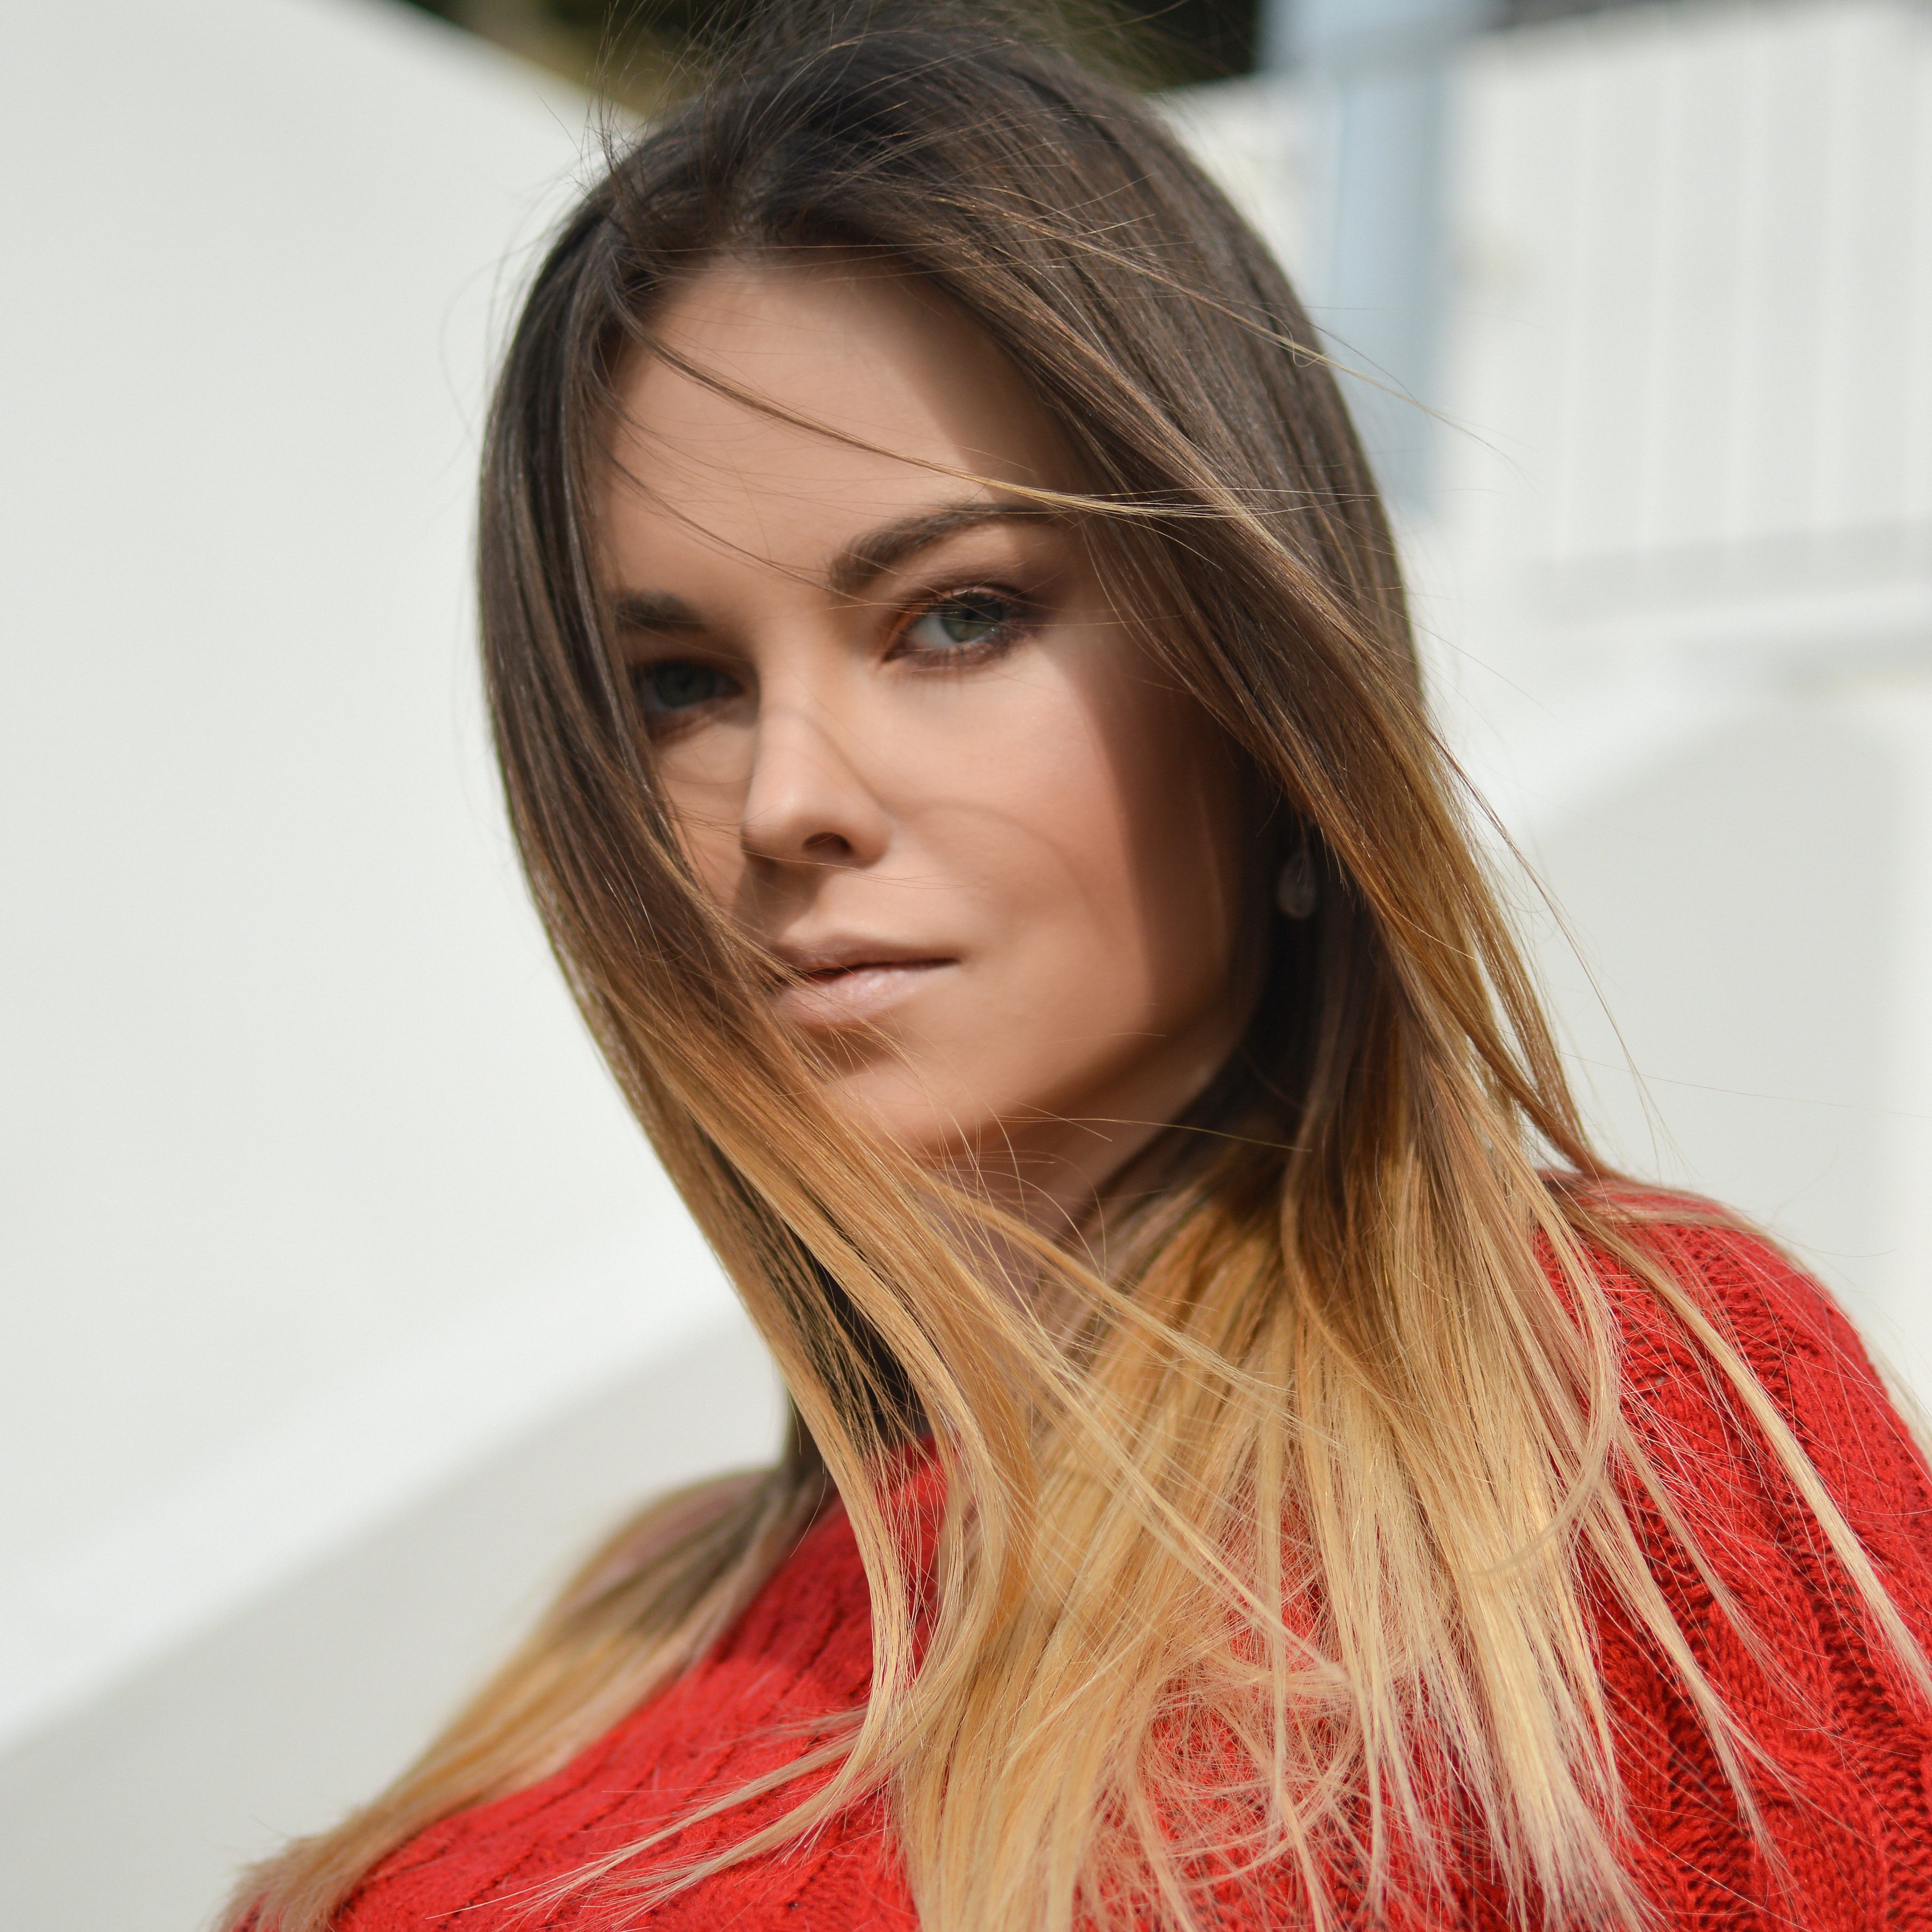
The Difference Between Balayage Highlights And Ombre Hair
If you are uncertain of the difference between balayage highlights and ombre hair, you are not alone. Many people get confused over it. Ombre is a style that involves your hair having the dye placed in a horizontal fashion of the section of the hair. Then the color is blended in an upward position, so the line is diffused. The lower half of your hair is generally lighter than the upper part of your hair unless you do it in reverse. When it comes to reverse ombre hair, the lower part of your hair is dark, and the upper part of your hair is light. However, balayage is a technique that involves painting the dye onto smaller sections of the hair and in a vertical fashion. Therefore, your hair will have streaks from the top of the root to the bottom of the end.Both are low-maintenance but require treatments regularly, and that can become costly. That is why there are DIY ways to try out both types. If you are unsure of which appearance is better for you, either presentation will look great on you. That all depends on how you want your hair to appear. You can even combine both types if you like the idea of that. However, again, the only thing that stops you from getting these treatments is the cost of each coloring and styling session.
That is why having a DIY balayage highlight and ombre hair technique is ideal to do at home. Let's now go over how to DIY ombre hair at home.
How To DIY Ombre Hair At Home
The first thing to do when you want to DIY ombre hair at home is to decide if you wish to go with traditional ombre hair or reverse.The typical hair dye options are light brown shade, red or auburn hair shade, or blonde shade. Choose a tone that is not more than two shades lighter than your natural hair color. Remember that you want to make the color change as subtle as possible to your existing hair color for it to appear natural.
When you look for dyes, only go for natural or mild hair dyes because it won't damage your hair.
Keep in mind that ombre hair looks good for long hair because the last thing you want is appearing to have grown out roots. That is why it's essential to decide where you want the dye's fade to stop on your hair. If you make that meeting point between your natural hair and dyed hair at your jawline, that is ideal. Before you buy your hair dye, do a patch test to make sure you don't have an allergy to the color.
Do this 48 hours before you begin the process and monitor yourself for any reactions.
Before you begin, change your shirt by putting on an old T-shirt. Then brush your hair thoroughly, so there are no tangles present. That will ensure that the hair will be evenly dyed. Put on your disposable gloves as you are handling bleach that you don't want in contact with your hands as it can irritate.
Mix your bleach as per instructions on the bottle.
Then, take a bunch of rubber bands and use them to tie the strands of hair grouped at the jawline's location. Their purpose is to divide where you will bleach your hair and where you will keep it natural. Tease the hair for where you want the ombre to start as it will prevent an unsightly line of where it was applied.
Use an applicator brush to apply the bleach and begin brushing it at the bottom and work your way up to the fade line in a vertical fashion.
Don't miss any spots either, and allow the bleach to set in your hair between ten to 45 minutes. If you only want a subtle color change, then don't leave the bleach in for longer than 20 minutes. If you're going to have the change appear bold, then leave it in for 45 minutes. Then wash your hair with a shampoo that is free of sulfates and make sure that you get all of the bleach out.
Or else, the hair will keep lightening. Don't use any conditioner, and dry your hair out thoroughly.
Once your hair is completely dried, then you can start coloring. Start the process of dividing your hair again and put on another pair of disposable gloves. Then prepare your dye based on the instructions. Begin applying the color to the bleached areas of your hair with an applicator and, once again, coat the entire area of your hair that you want dyed.
Once that is completed, allow the dye to set in and follow the instructions on the box. You won't likely leave it in for more than ten minutes. Then wash your hair and keep your gloves on as you do with shampoo that has no sulfates. You can add conditioner in your hair this time. Dry your hair and then show it off.
Are you thinking about trying out DIY balayage highlights at home instead? Let's go over the steps now.
How To DIY Balayage At Home
There are some differences between preparing for DIY ombre hair and DIY balayage highlight treatments.Grab yourself application brushes, petroleum jelly, hair dye, and any balayage kit. Just as you do before starting the DIY ombre treatment, do a patch test 48 hours before starting your balayage treatment. You can develop allergies or sensitivities over time, even if you have used the same products in the past.
When you are about to start, put on a pair of disposable gloves, and then utilize the hot cross bun technique. Take your hair and separate it into four sections. Take your comb and begin to run it down from the middle of your head. Then do so across one ear to the other. Work with one part at a time. Apply petroleum jelly to the hairline. That prevents your scalp from getting stained. Then you are ready to start with the dye.
Take an applicator brush and begin applying the dye to the hair strands that you want to be highlighted and don't expose it to the roots.
Only work with one small section each time. As you work with your hair, use clips to keep your hair strands secured as you work with the part. You can then take your fingers and blend the dye in by stroking it downward. Avoid touching your scalp as you do that.
Work it through each strand, so the areas of your hair that you want highlighting become saturated.
The time to leave the dye in will depend on the instructions you get from the balayage hair kits. Follow those instructions, and once your time is up, rinse your hair with warm water and utilize a hydration treatment after. That is all there is to do.
Conclusion
You want your hair to have different neat styles.However, you don't have the money to spend at the salon to get ombre hair or balayage highlight treatments. There is good news to work around that. You can DIY both treatments for a fraction of the cost, and they are so easy to do. However, prepare yourself for the fact that they require a lot of time.
The DIY ombre hair treatment is somewhat more involved than the DIY balayage highlighting sessions.
It is ideal to have long hair to consider ombre treatments for the sake of appearance. However, you know which style to go for, and you know which one is right for you. That is what to do.